Laser Engraver Training
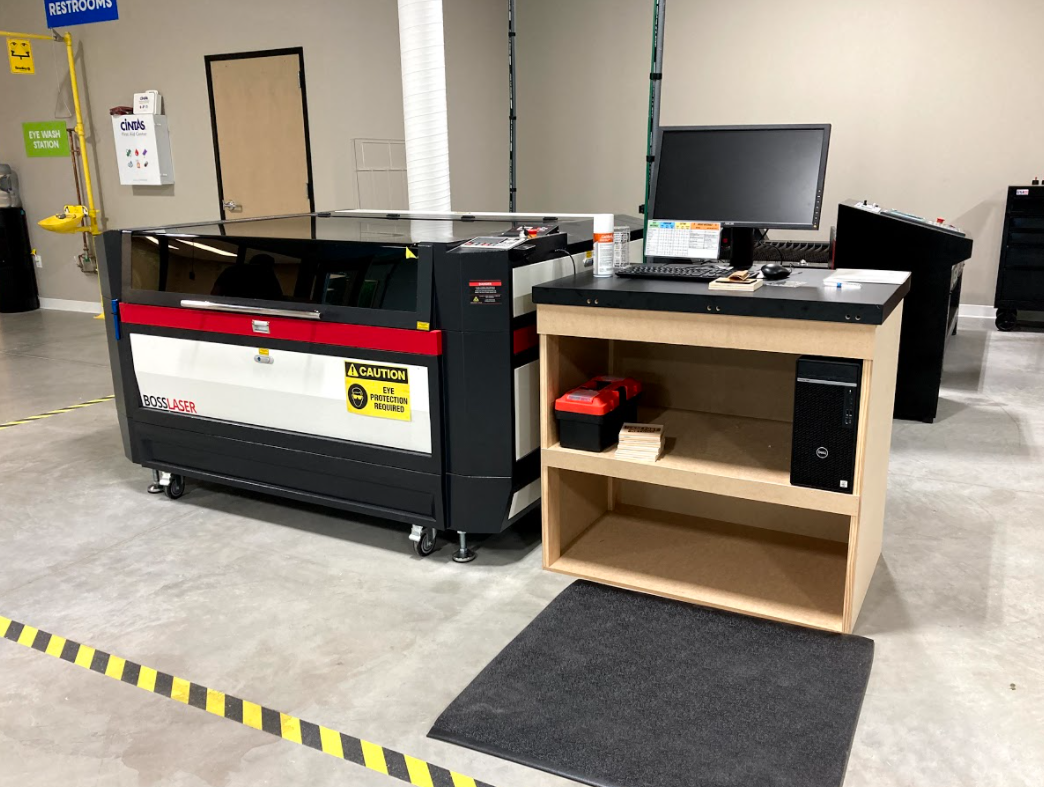
CO2 laser cutting and engraving allows for endless ways to bring 2D art to life – engrave personalized designs, cut out intricate shapes, or even cut pieces for 3D assemblies. Watch the videos below to learn basic operational safety for laser cutting, what materials can be used, how to create or convert graphics for laser cutting, and how to bring it to life with our state-of-the-art Boss Laser HP-3655 150w laser and Lightburn Software.
The laser engraver’s maximum job size is 36 x 55”. Passthrough doors allow for larger material to fit inside the machine. The thickest material we recommend trying to cut on the laser is no more than 5/16”.
Members who want to use the laser engraver must watch the videos below to learn the basics of Lightburn software and machine setup and then follow the remaining steps:
Step 1
Watch the videos below. Note: it may be helpful to watch them multiple times. You can return to these videos frequently until you’re more comfortable operating the laser. Use these videos as a resource whenever you need a reminder!
Step 2
Practice using Lightburn at Maker Playground! Check out a laptop with Lightburn from staff. Feel free to do this as you watch the Lightburn training video. It is helpful to create the first file you plan to cut ahead of your reservation so you are prepared to use the laser during your reservation time.
Step 3
Make your first laser reservation! Make sure to log in to your Amilia account. We recommend starting out with the BOSS laser while you get the hang of the software and setup process.
Step 4
Email makerplayground@fishersin.gov, and let us know when you have scheduled your first reservation so we can make sure to stay close by to assist!
If you have any questions or are having trouble creating your reservation, please email makerplayground@fishersin.gov.